---
title: Install the Vibe CLI and send your first prompt
sidebar_label: Install the Vibe CLI
sidebar_position: 1
description: "Install the Vibe CLI, configure your API key, and send your first prompt from the terminal. ~5 minutes."
---
# Install the Vibe CLI and send your first prompt
Install the Vibe CLI, register your API key, and send your first prompt directly from the terminal.
- **One-line install**: get the CLI running in seconds on macOS or Linux.
- **Setup wizard**: register your API key on first launch.
- **Send a prompt**: have Vibe read your project and respond in the terminal.
By the end you'll have the Vibe CLI installed, configured, and responding to prompts in your terminal.
**Time to complete:** ~5 minutes
Prerequisites
- macOS, Linux, or Windows.
- Python 3.12 or later (for manual install).
- *(Optional)* a Mistral account if you want to use Mistral-hosted models. The CLI also works fully [offline with local models](/vibe/code/cli/offline-models) or against any OpenAI-compatible API key you provide. See [API keys and profiles](/vibe/code/cli/api-keys-profiles) for the full provider matrix.
:::tip
On a different interface? See the [VS Code extension](/vibe/code/vs-code-extension/install-authenticate) or [Vibe Code Web](/vibe/code/vibe-code-web/get-started) guides.
:::
Step 1: Install the CLI
**One-liner (macOS/Linux)**
Run this in your terminal:
```bash
curl -LsSf https://mistral.ai/vibe/install.sh | bash
```
The installer checks `uv` (Astral's Python tool installer), installs or upgrades `mistral-vibe`, and makes the `vibe` and `vibe-acp` commands available, provided your `PATH` is configured.
**Manual install (macOS/Linux/Windows)**
If you prefer manual setup, or you're on Windows:
1. Confirm Python 3.12+ is installed: `python3 --version`.
2. Install with your preferred package manager:
```bash
# With uv (recommended)
uv tool install mistral-vibe
# With pip
pip install mistral-vibe
```
For Windows, install `uv` first via PowerShell, then run `uv tool install mistral-vibe`. See [Install and setup](/vibe/code/cli/install-setup) for the full per-platform instructions.
Step 2: Launch and configure
1. Open a terminal in any project directory.
2. Run:
```bash
vibe
```
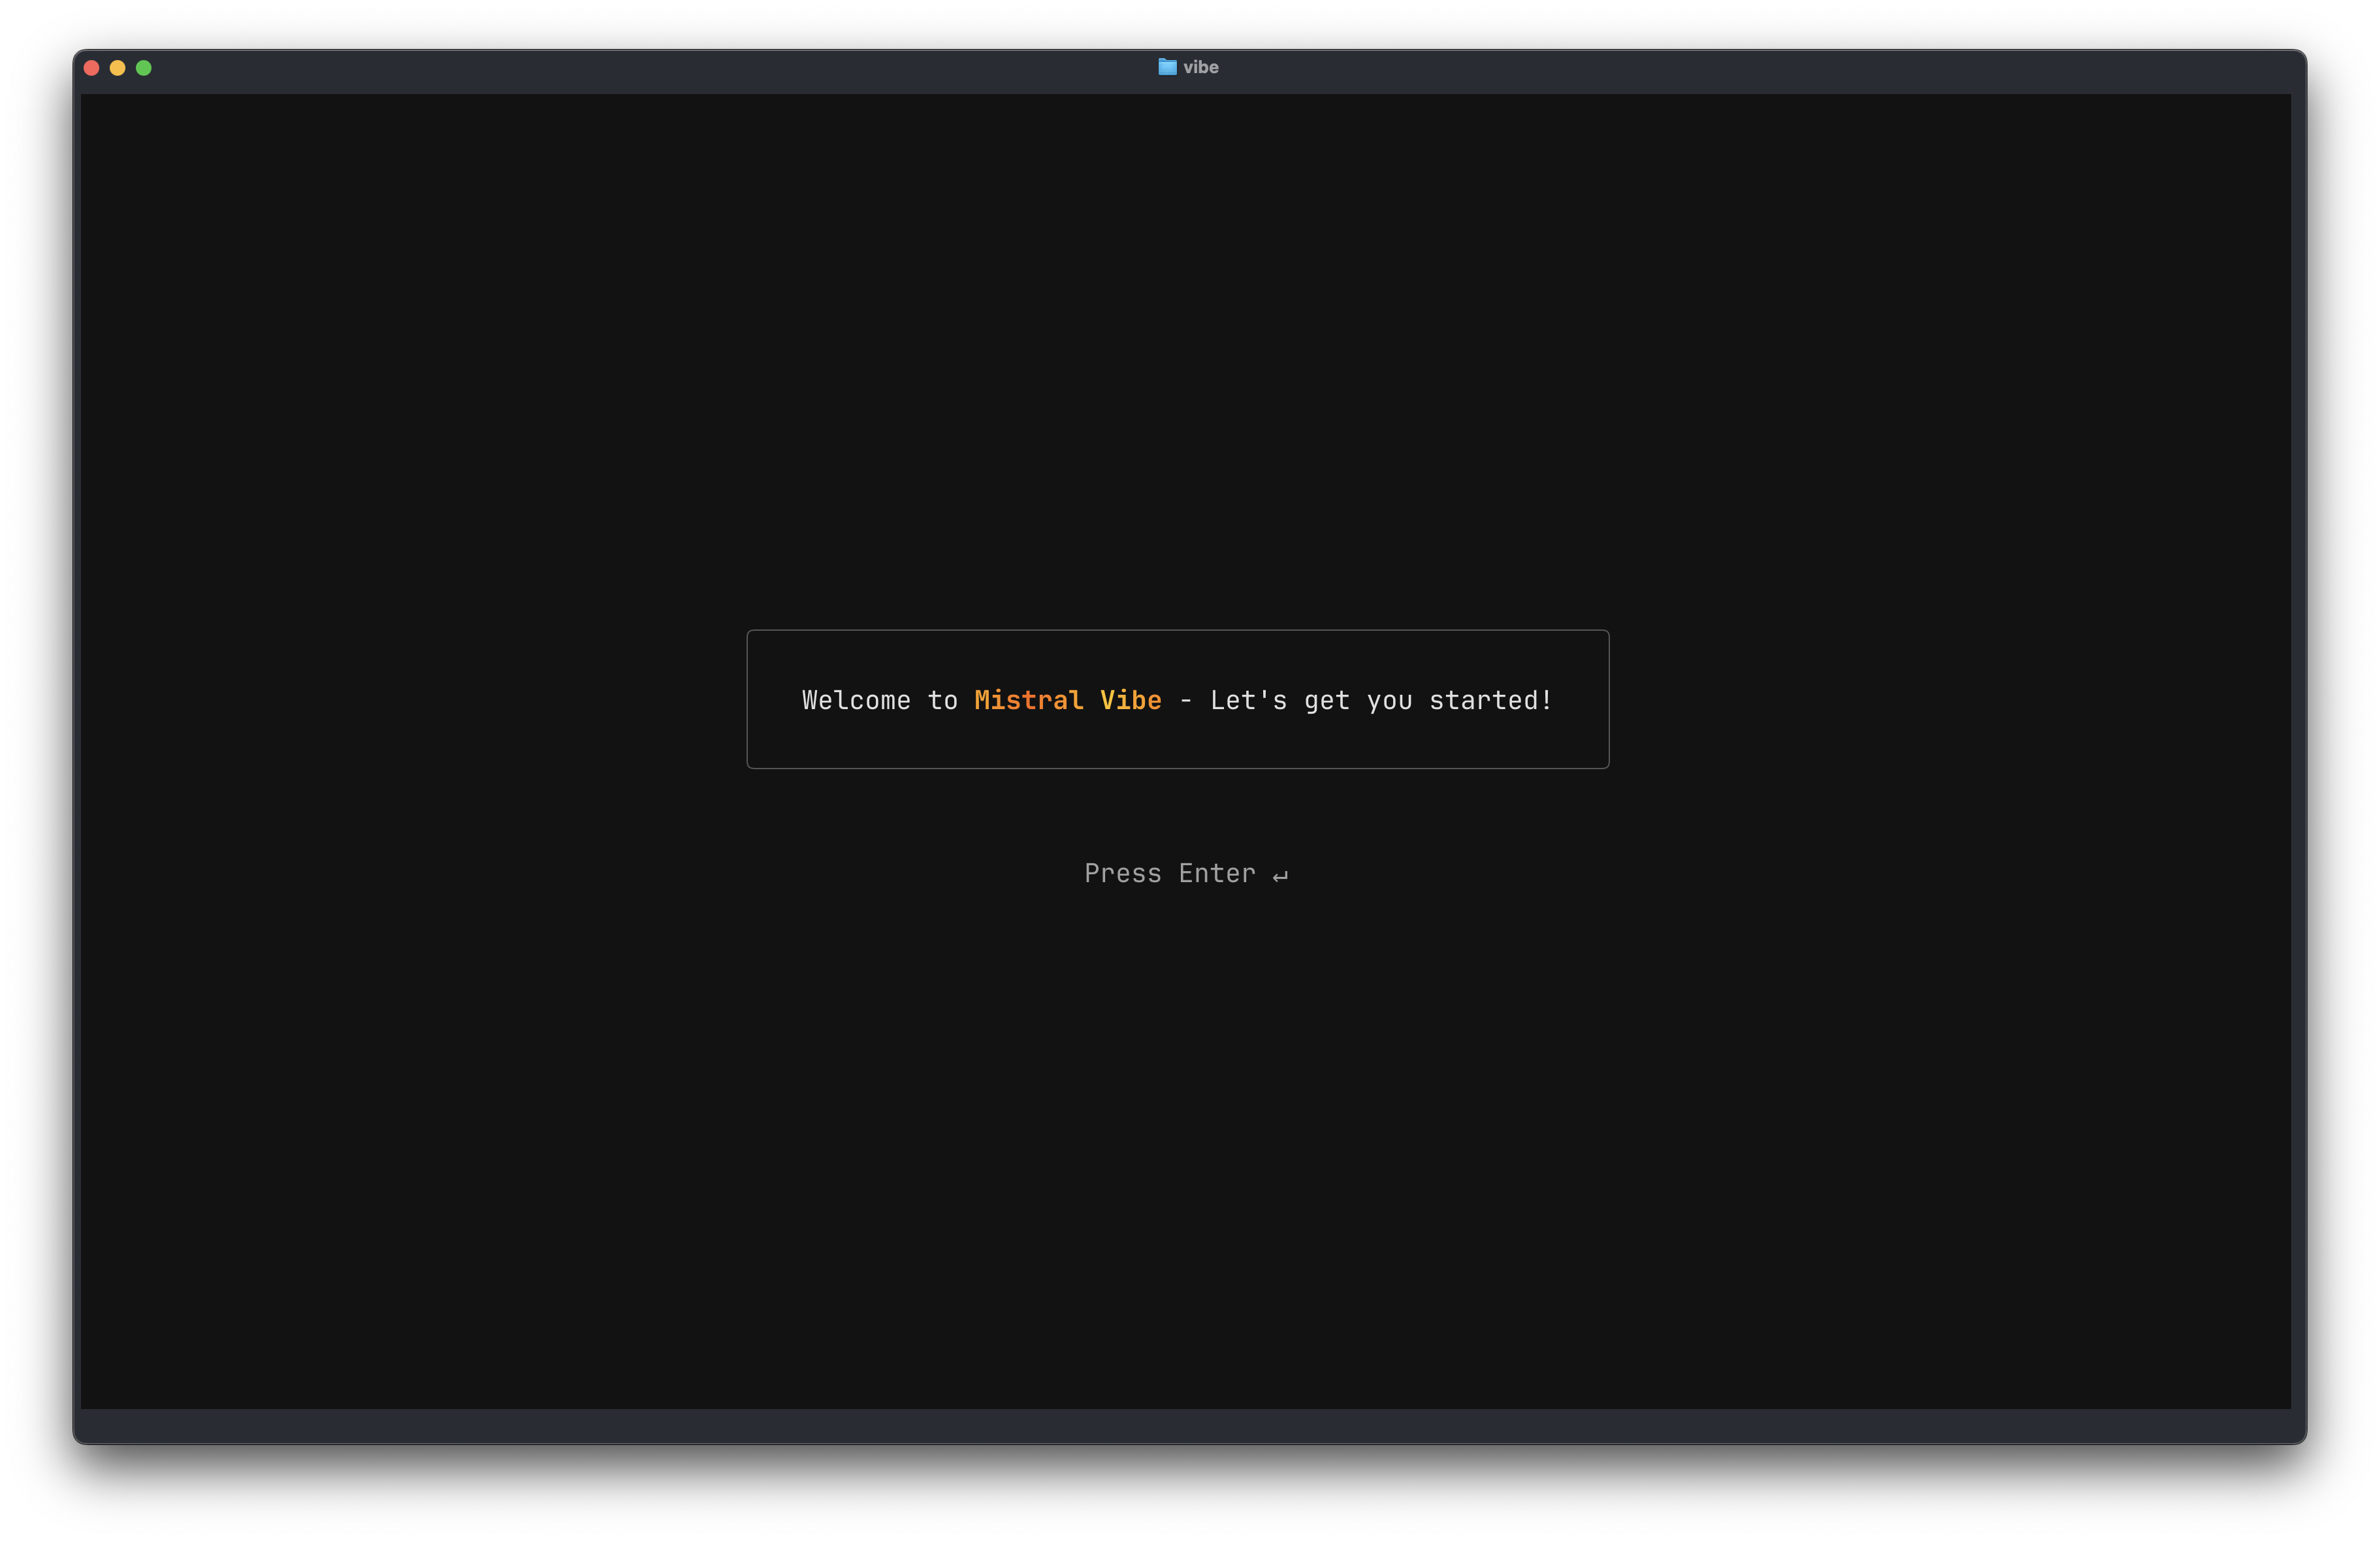
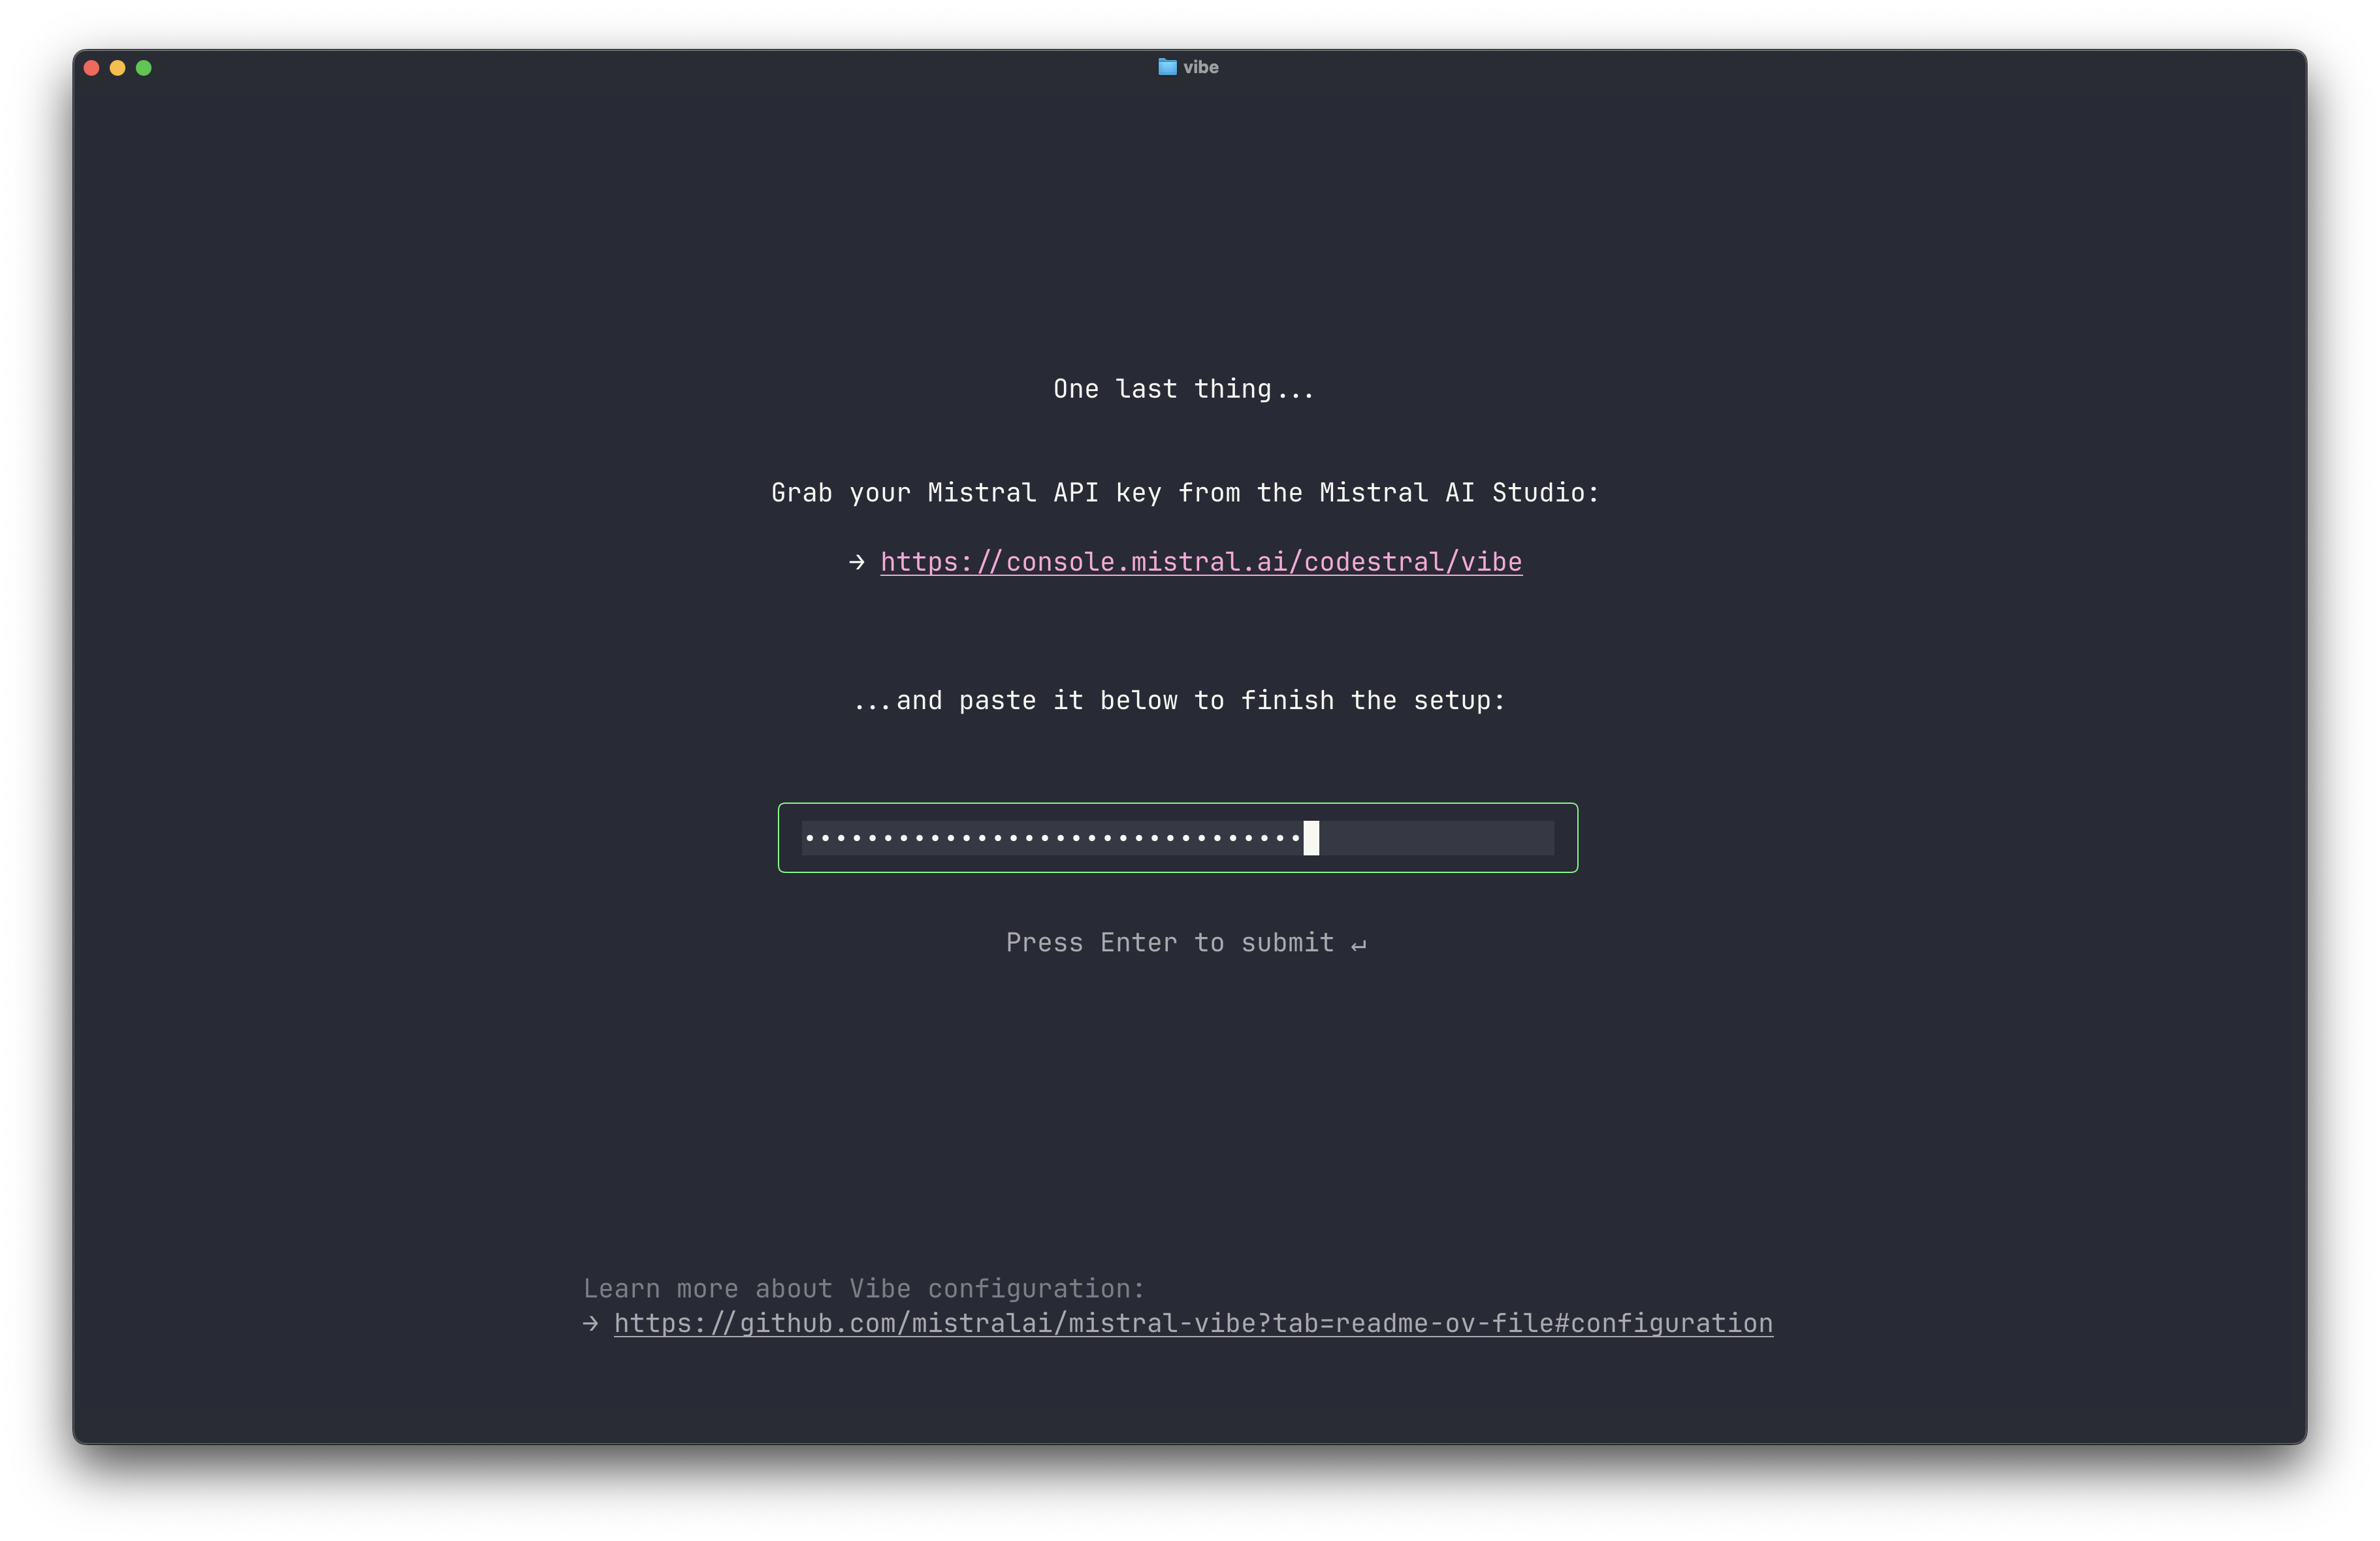
On first launch, the CLI runs a **setup wizard** to register your API key. By default it opens a browser to sign you in with your Mistral account; credentials are stored locally so you don't need to enter them again.
For non-Mistral providers or automation, paste an API key instead. Generate one from Code › Vibe CLI. The same key works in Free mode, with a paid plan, or with pay-as-you-go enabled.
:::tip
You can re-run the wizard anytime with `vibe --setup`.
:::
:::note
If you run `vibe` for the first time in a non-empty project containing a `.vibe/` directory, the CLI asks whether you trust the folder before loading any local configuration. See [Trusted folders](/vibe/code/safety-approvals-permissions#trusted-folders).
:::
Step 3: Send your first prompt
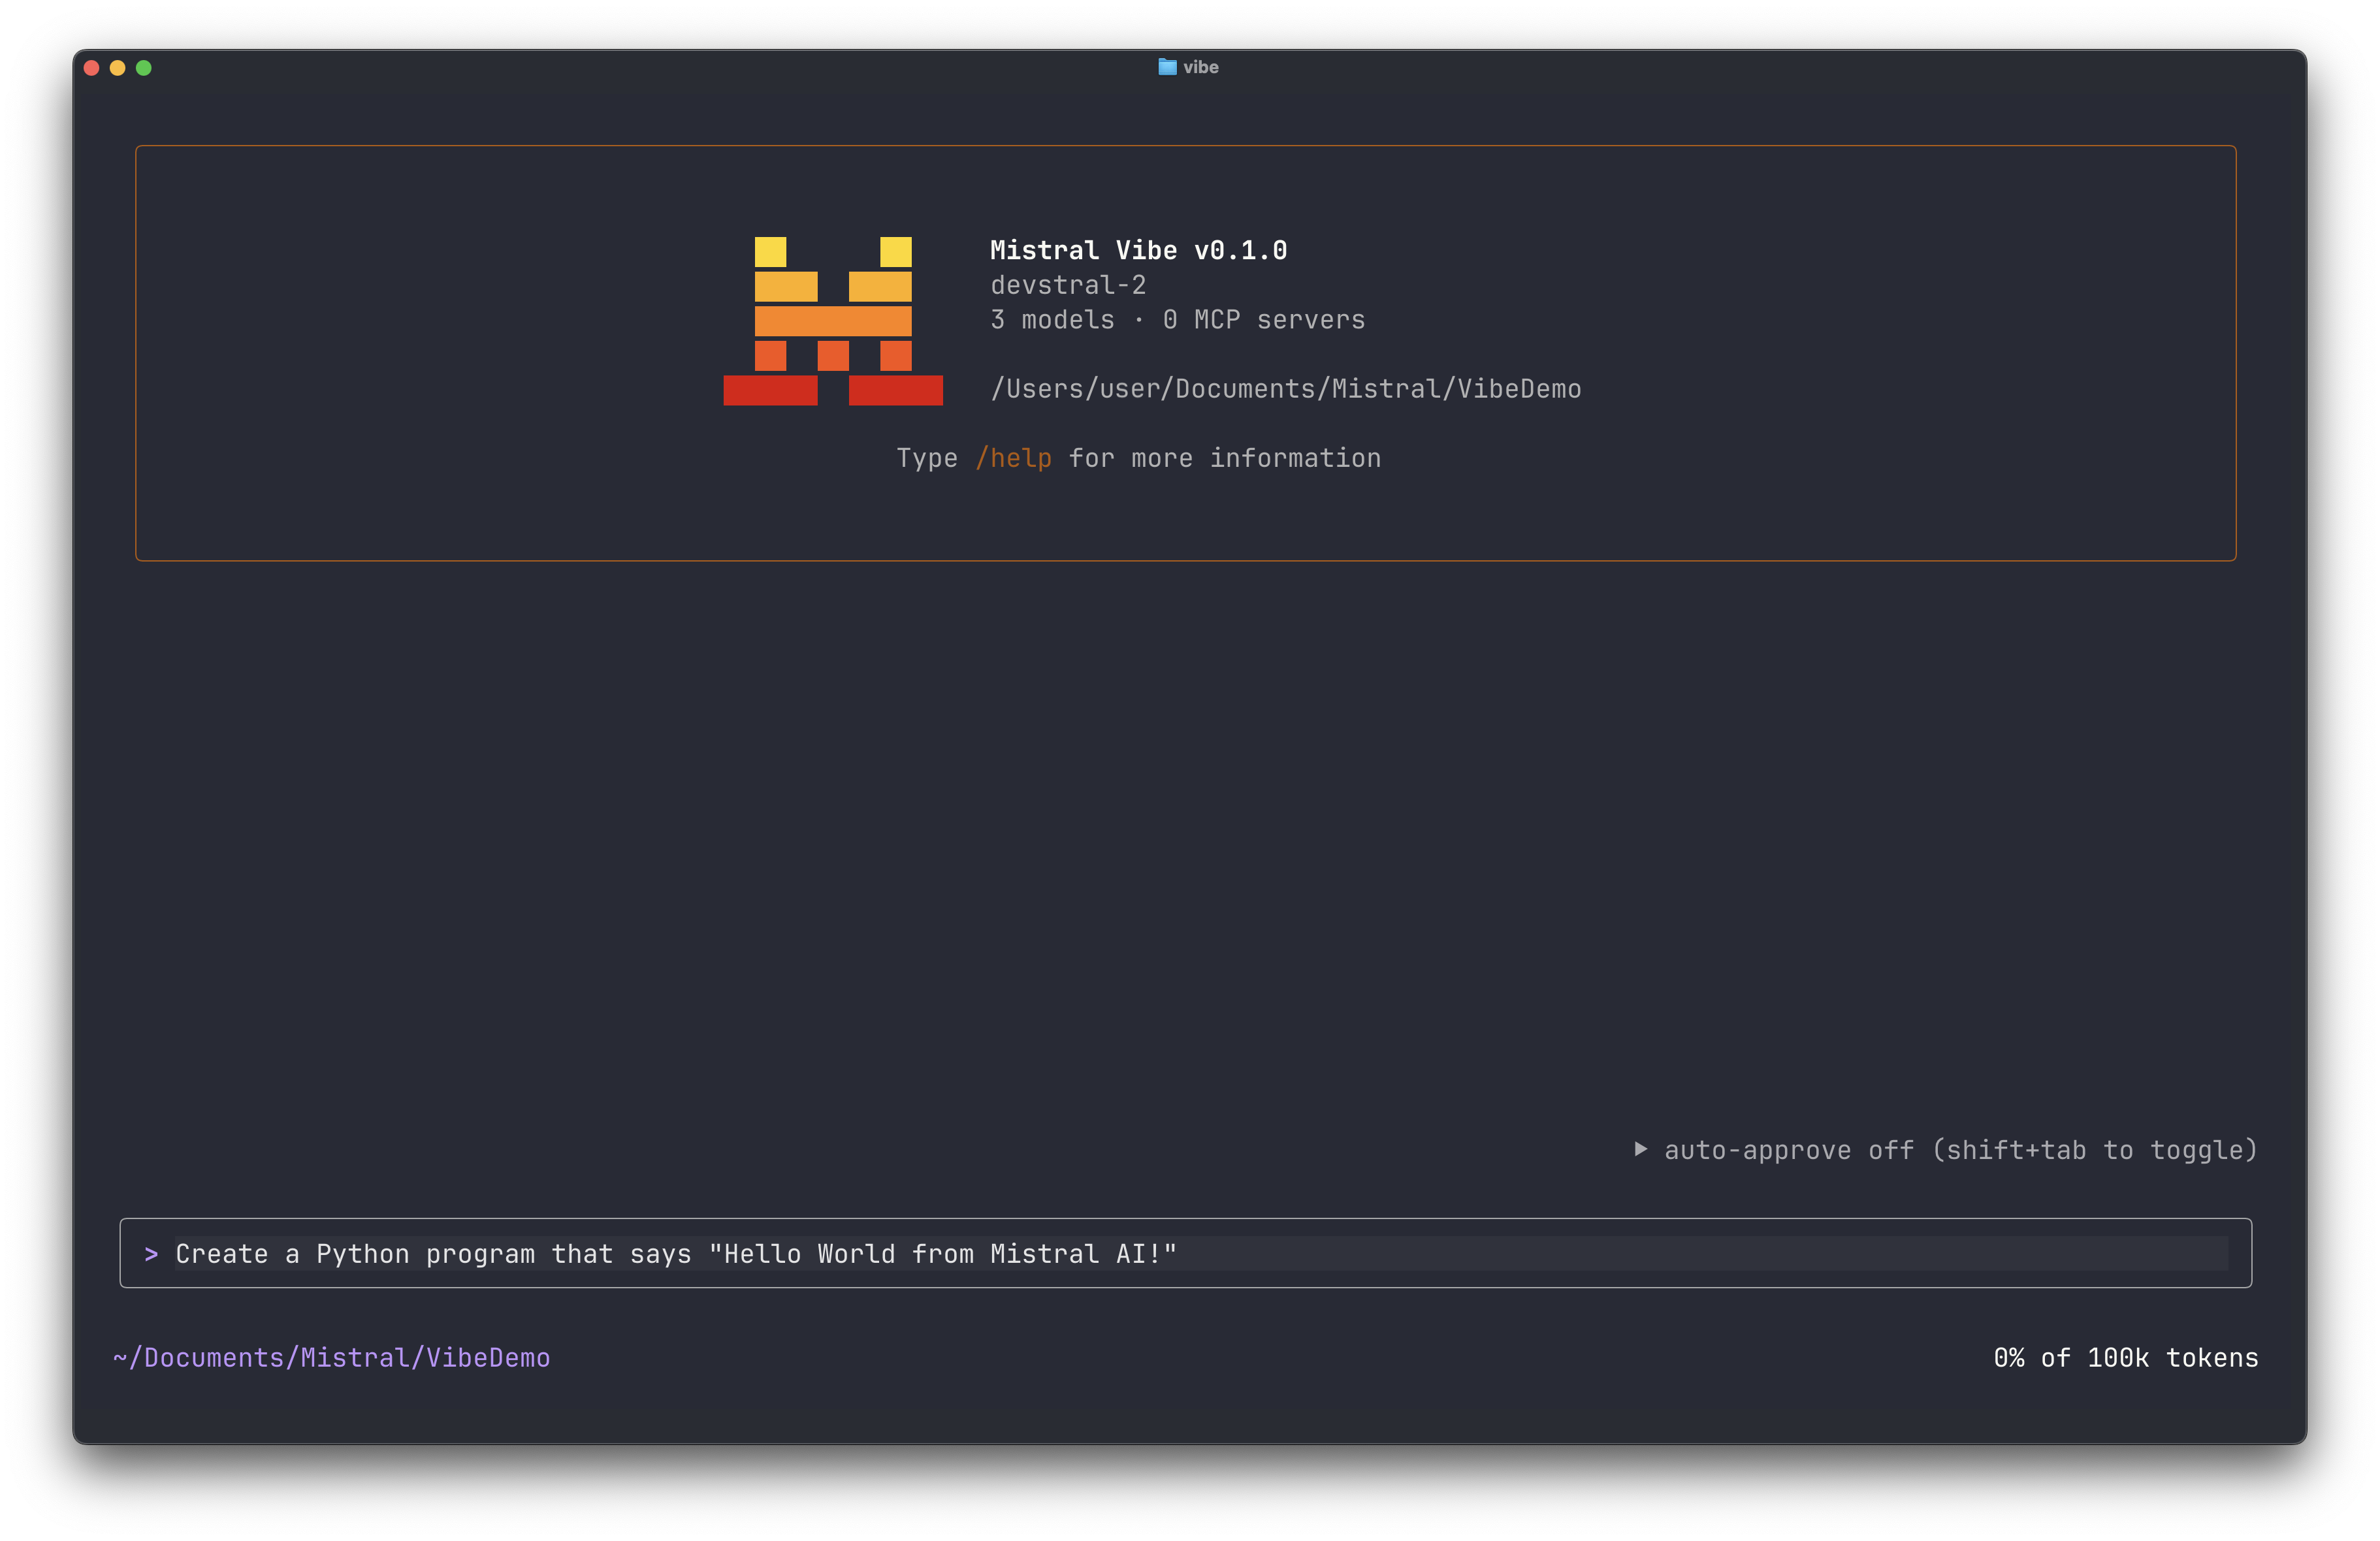
Type a request directly in the prompt. For example:
> List the files in this directory and explain what each one does.
The CLI reads your project context and responds with relevant information. It can also generate code, edit files, and run shell commands when you approve.
To run a shell command directly from the CLI, prefix it with `!`. For example: `!ls` or `!git status`.
Verify
You've completed the setup if:
1. `vibe --version` returns a version number.
2. You're signed in (or your API key is registered).
3. The CLI responds to prompts with context-aware answers.
What's next